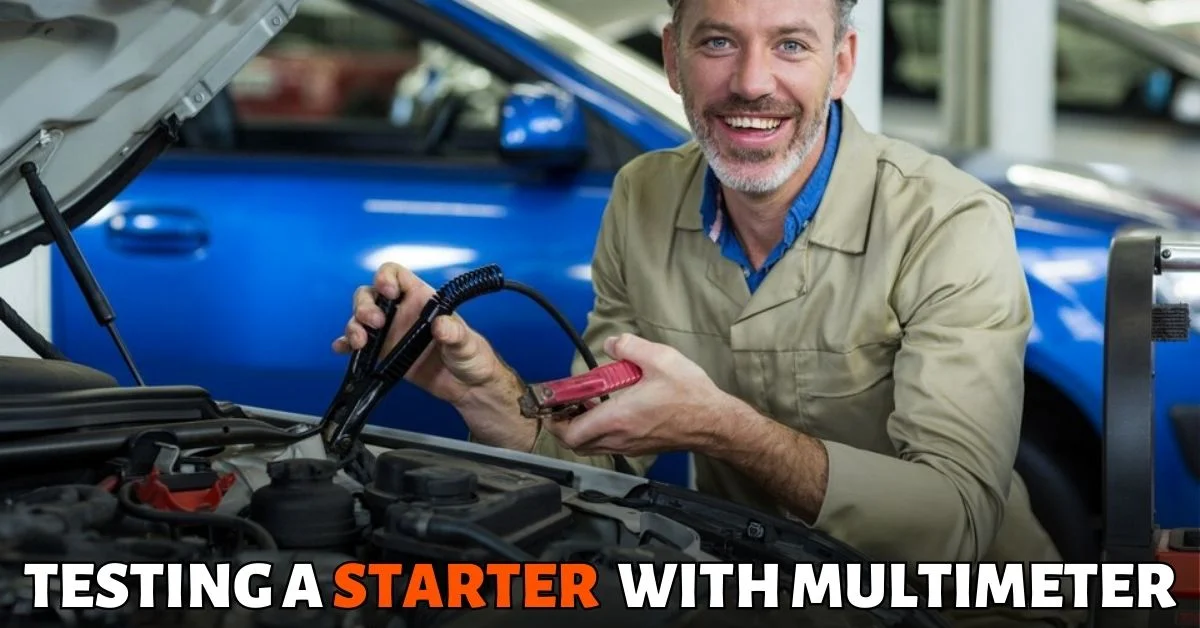
Whether you are a mechanic or a car enthusiast, it is important to understand how to test a starter with a multimeter. A multimeter is an invaluable tool for diagnosing electrical problems in cars, and being able to use it effectively can help you detect any issues before they become bigger problems. Testing a starter with a multimeter is relatively straightforward, but certain steps must be taken to ensure the safety of yourself and your vehicle.
So, without further ado, let’s get right into it!
Check Things Before Testing Starter
Before testing the starter in your car, you should check the battery first to make sure it’s working well. If the battery is not in good condition, you won’t be able to test the starter until you replace the battery.
Starters need enough voltage, at least 12 volts, to work properly, and a fully charged battery provides this voltage.
Once you have tested the battery, it is important to visually inspect the starter and its cable to ensure that all nuts and bolts are properly tightened. If you notice any looseness, you should address it before proceeding with the voltage measurement.
Understanding The Starter Motor
Before we dive into how to test a starter motor with a multimeter, it’s essential to understand what a starter motor is and how it works.
The starter motor is a small electric motor that turns the engine over to get it started. It’s located at the bottom of the engine and is connected to the flywheel or flexplate. When you turn the key in the ignition, an electrical signal is sent to the starter motor, which then engages with the flywheel or flexplate, turning the engine over and starting the car.
When your starter motor is faulty, it can lead to frustrating problems like an intermittent or complete failure to start, grinding or clicking noises from the starter, or even smoke coming from your engine.
Tools You Need
To properly test a starter motor with a multimeter, you will need the following tools:
- Multimeter
- Alligator clips for multimeter probes
- Car battery
- Jumper cables
- Swivel ratchet
Ensure you have all the necessary tools before testing your starter motor.
How To Test A Starter With a Multimeter
Connect the red lead of the multimeter to the high-voltage input terminal on the starter solenoid. Then, connect the black lead of the multimeter to a metal surface using alligator clips. If the starter is working correctly, the multimeter should display a reading of 12 volts. When you try to start the vehicle, the voltage reading on the multimeter will drop.
Further explanations are provided below.
There are two ways to test the starter: with it still attached to the engine or after it has been removed. If you’re uncomfortable with removing the starter, skip step1,2 and 5 and still perform the test.
1. Take Safety Precautions Before Starting The Test
Safety should always be a top priority when working on any part of your vehicle, including testing the starter motor.
Before you begin, make sure you follow these safety measures to protect yourself and prevent any damage to your vehicle:
To ensure your safety, put the car in park mode and turn off the engine. Then, place two bricks, stones, or fat chunks of wood behind your rear tires to prevent the car from rolling backward. Additionally, use a car jack to raise the front side of your vehicle, and shake the car as a check to ensure that it’s sturdy and won’t move when something slightly hits it.
You can work confidently and safely while testing your starter motor with a multimeter by following safety measures.
2. Look At Starter Motor On The Vehicle
The starter motor is typically located where the engine and transmission meet in a vehicle, although its exact location can vary depending on the make and model.
Generally, it’s found near the flywheel, which is where the starter engages directly to kick-start the engine. To locate the starter motor, you may need to consult your vehicle’s manual or do some research online to determine its specific location based on your vehicle’s model.
Once you’ve found the starter motor, you can proceed to the next step.
3. Take Out The Starter From The Vehicle
Now, you’ll need to remove the starter from the engine. Here’s how to do it:
- Disconnect the wires: Begin by disconnecting the wires connected to the terminals at the starter solenoid. Be sure to take note of the position of each wire so you can reconnect them properly later.
- Remove the Bolts: Once the wires are disconnected, use a swivel ratchet to remove the bolts that fasten the starter motor to your vehicle’s engine. When removing the last bolt, hold the starter so that it doesn’t fall off, as it can be quite heavy.
- Remove the starter: Once the bolts are removed, carefully take out the starter motor from the engine. Place it on a non-conductive surface, such as a piece of cardboard, for the next steps in the diagnosis process.
4. Give Power To The Starter
To check if the starter is working properly, you must give it power from a 12-volt battery using jumper cables.
Connect one end of the negative cable to the battery’s negative post and the other end to a metal surface like a part of the starter (not its terminals).
Then, connect one end of the positive cable to the positive post of the battery and the other end to the outer terminal of the starter solenoid, which is the same terminal from which you removed wires when you detached the starter from the car.
5. Attach The Multimeter Probes To The Jumpers
To connect your multimeter probes to the jumpers, start by connecting the positive multimeter probe to the positive jumper cable that’s connected to the high-voltage terminal. Next, connect the negative probe to the negative jumper cable or any ground surface.
If you didn’t remove the starter from the engine, you can simply connect your positive multimeter lead to the high-voltage solenoid terminal and the negative lead to any ground surface. To make the connections secure, alligator clips are great for fastening all the connections you make here.
Once you have connected your multimeter probes to the jumpers, you are ready to move on to the next step.
6. Perform The Initial Assessment
After connecting your multimeter probes to the jumpers or solenoid terminal, it’s time to perform the first evaluation.
A reading of 12V indicates that your starter is in good condition and receiving the appropriate power supply from the battery. Any other reading means that the battery is likely bad or there is damage to the wires running from the car battery.
To determine the main issue, you can test your 12V car battery by placing the multimeter probes at their relevant posts and checking for battery capacity on the meter screen. The battery is bad if you don’t get a 12V reading.
However, if you do get a 12V reading but not on the solenoid terminal, there may be damage to the wiring between the starter and the car battery. If you get a 12V reading, proceed to the next steps.
7. Turn On The Starter With A Jumpstart
To jump-start the starter, you can use a small jumper cable. If the starter has been removed from the vehicle, connect one end of the small jumper cable to the larger jumper cable or high-voltage solenoid terminal.
Then, touch the ignition tab (a protrusion usually located between the two solenoid terminals) with the other end of the cable. This will mimic the engine getting started.
If the starter is still in your vehicle, you can ask a friend to turn the ignition key to the “start” position instead.
8. Conduct The Secondary Evaluation
After jump-starting the starter, you need to perform a second evaluation. If the starter motor fails to spin when you bridge the ignition tab to the solenoid terminal, then it indicates that either the ignition coil, motor windings, or the motor itself is faulty, and you need to replace the starter.
However, if the starter motor spins, the next step is to check the multimeter reading. The reading should be below 12V, and it may drop as low as 0.5V in some cases, indicating that the starter motor is drawing power from the high-input solenoid terminal. This reading confirms that the starter motor is functioning correctly.
Testing Starter Continuity & Resistance Using A Multimeter
To diagnose the problem with your starter more precisely, you can perform continuity and resistance tests using a multimeter. These tests don’t require the battery or jumper cables as they involve no electric current.
Test Starter Continuity
The continuity test helps you determine whether there is any short or open circuit between the starter solenoid terminals.
If the starter is functioning properly, you should not get continuity between the solenoid terminals. Set the multimeter to continuity mode or Ohms setting and touch the probes to each solenoid terminal.
The multimeter should display an “OL” reading, indicating no continuity. If you hear a beep or get an Ohms reading, it means the starter is faulty and needs replacement. Also, if you find continuity between the high-input solenoid terminal and the ignition tab, it may cause the starter to keep running after the vehicle is powered up.
Test Starter Resistance
The resistance test checks the resistance between the low-input terminal and the starter motor windings.
The low-input terminal is the inner solenoid terminal, and the motor windings are copper wires located near the starter motor. Use the Ohms setting to perform this test, as you need to check for a specific resistance value between these two electrical components.
Touch the multimeter probes to the low-input tab and the motor windings. A good starter should have a meter reading of around 0.1 Ohms. If the multimeter displays “OL,” it indicates a faulty starter that needs to be replaced.
Causes of Starter Failure
Corrosion and wire breakage are common causes of starter failure. Corrosion can occur due to exposure to moisture and can cause damage to the electrical components of the starter. Surface rust on the starter can be an indication of corrosion and should be addressed immediately.
Wire breakage can occur due to wear and tear or due to mechanical stress. The wires can break due to excessive bending or due to exposure to high temperatures. Broken wires can prevent the starter from receiving the necessary electrical current and cause it to fail.
If you notice any signs of corrosion or wire breakage on your starter, it’s important to have it inspected and repaired by a qualified mechanic. Ignoring these issues can lead to short circuits and permanent damage to the electrical components within your car or truck’s wiring harnesses. Fortunately, many starter repair kits are available to fix these issues inexpensively, but it’s important to act quickly to prevent further damage.
Conclusion
In conclusion, testing a starter motor with a multimeter is a relatively easy task that can save you time and money. By following the simple steps outlined in this guide, you can quickly diagnose any issues with your starter motor and take the necessary steps to fix them.
It’s important to note that if your starter motor fails the tests outlined in this guide, then it may be time to replace it altogether. While repairing a faulty starter motor may seem like an attractive option, it’s often more cost-effective to purchase a new one instead.
In summary, regularly testing your vehicle’s starter motor is essential for ensuring its longevity and overall performance. By using a multimeter, you can quickly identify any problems with your starter motor and take action before they become more serious issues.

