Fluke multimeters are renowned for their reliability and precision. But even the most trusted tools can experience slight drifts in accuracy over time. To maintain peak performance and ensure your measurements are on point, regular calibration is crucial. This guide will walk you through the process of calibrating your Fluke multimeter, empowering you to maintain its accuracy and keep your readings trustworthy.
What is Multimeter Calibration?
Just like a ruler needs to be accurate to give you the correct length, your multimeter needs calibration to ensure its readings are reliable.
Multimeter calibration is fine-tuning your device to guarantee it measures voltage, current, resistance, and other electrical properties with utmost precision. During calibration, you compare your multimeter’s readings against a known, highly accurate reference source. Any slight deviations are then adjusted to bring your multimeter back to its specified accuracy level.
There are several types of calibration:
- Factory Calibration: Done at the manufacturing stage to set initial specifications.
- User Calibration: A routine check that can be performed by the user to ensure ongoing accuracy.
- Professional Calibration: Conducted by certified laboratories for the most stringent accuracy requirements.
Each type of calibration serves a different purpose, but all aim to maintain the reliability of your measurements.
Preparing for Calibration
Before jumping into the calibration process, preparing properly is essential. As an expert in the field, I cannot stress enough the importance of following safety precautions and the manufacturer’s instructions to avoid the risk of electric shock or damage to your Fluke multimeter.
You’ll need
- Fluke multimeter
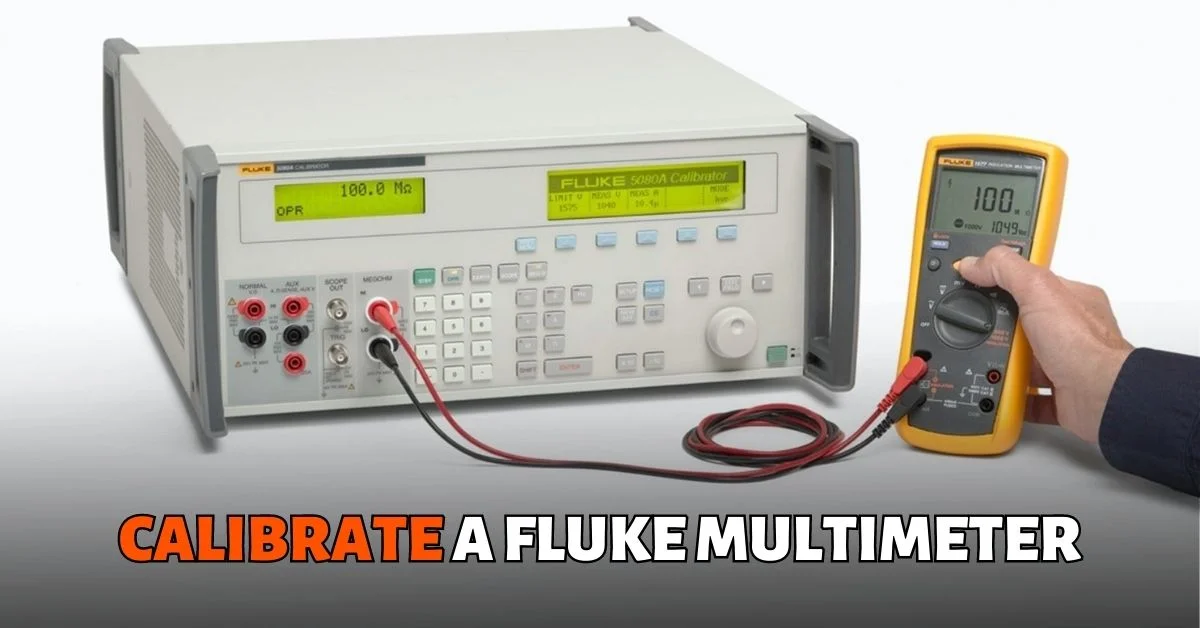
- Electronic calibrator
Review the safety precautions in your Fluke Calibration Manual to ensure you’re following proper procedures. Keep in mind that calibration can be a complex process, so if you’re unsure about any step or aspect of the calibration process, it’s always best to refer to a specialized calibration technician or the Fluke Calibration Manual for guidance.
How to Calibrate a Fluke Multimeter
Now that you’re prepared let’s walk through the calibration procedure for your Fluke multimeter. Remember to follow the instructions carefully to ensure a successful calibration.
Step 1: Hold the Min/Max button down while turning the rotary knob to the “VAC” position. Once you see the word “CAL” displayed on the screen, you can release the Min/Max button. You are now operating in calibration mode.
Step 2: Press the Auto/Hold button again. A line of question marks will appear, and you will enter your password. Once you’ve entered the password, press the Auto/Hold button again.
Step 3: When “C-01” displays on the screen, attach the outputs from the meter to the inputs on your electronic calibrator. Consult your Fluke meter guide to determine the appropriate position for the calibrator dial and turn it to that position. To complete, press the Auto/Hold button again.
Step 4: When “C-02” displays, again consult your Fluke meter guide to determine the appropriate position for the calibrator dial and turn it to that position. To complete, press the Auto/Hold button again.
Step 5: Repeat this process until you have completed the calibration up to “C-31”.
Step 6: When the process has been completed, “END” will display on the screen, and you can press the Auto/Hold button again to complete the calibration.
Conclusion
The calibration process involves adjusting the settings on your multimeter to match known values, such as those provided by a reference meter or standard source.
Once you have completed the calibration process, it is important to document your results and keep records for future reference. This will help you track any changes in accuracy over time and ensure that you are always using reliable measurements. Additionally, it may be helpful to perform regular checks on your multimeter’s performance to ensure that it remains calibrated and accurate.
Taking the time to properly calibrate your Fluke multimeter can prevent inaccurate readings and potential errors in measurement. By following these simple steps, you can confidently use your Fluke multimeter for all of your electrical testings needs with confidence and accuracy.

