Have you ever experienced flickering lights or a light switch that won’t turn on? It can be frustrating, right? But before you call an electrician, did you know you can easily test your light switch with a multimeter
Yup, you heard that right! With just a few simple steps, you can determine if your light switch is faulty and fix any problems you may encounter.
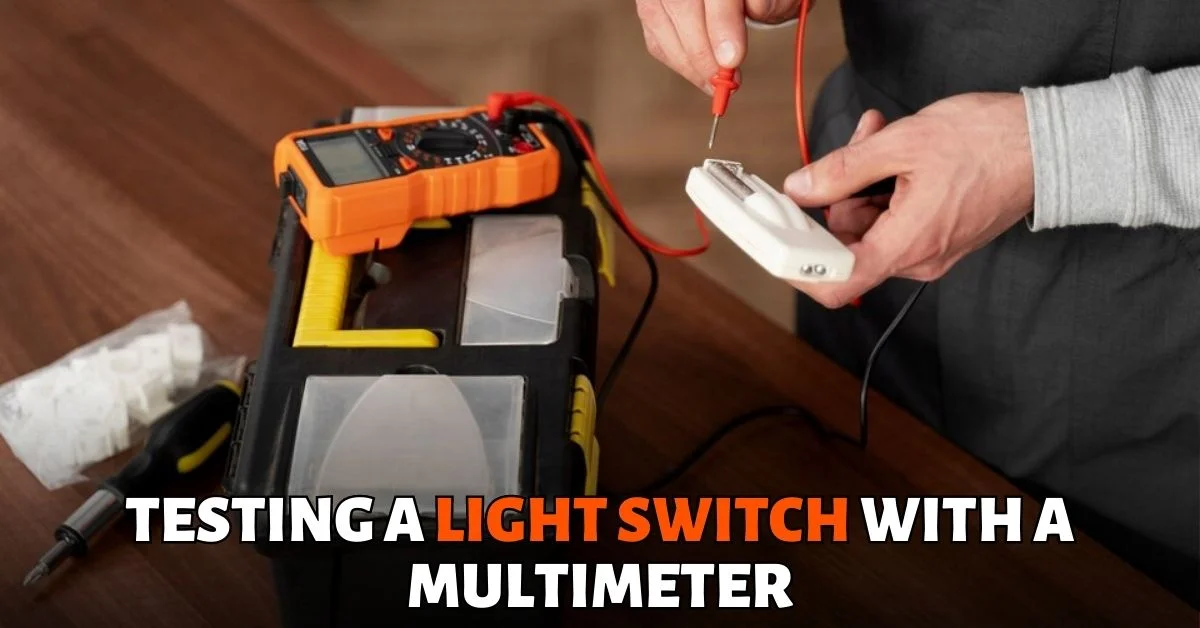
I will show you how to test a light switch with a multimeter like a pro. So, put on your DIY hat, and let’s get started!
Types Of Light Switch
Before you test your light switch with a multimeter, you need to know what type of switch you have. Many types of light switches are available, each with different features and functions. Some of the most common types are:
Single-pole switch – This is the simplest and most basic type of switch. It has two terminals and controls one light or device from one location. It usually has ON/OFF markings on it.
Three-way switch – This type of switch allows you to control one light or device from two locations. It has three terminals and works in conjunction with another three-way switch. It does not have ON/OFF markings on it.
Four-way switch – This type of switch allows you to control one light or device from three or more locations. It has four terminals and works in conjunction with two three-way switches. It does not have ON/OFF markings on it.
Dimmer switch – This type of switch allows you to adjust the brightness of a light or device. Depending on the circuit, it can be a single-pole, double-pole, three-way, or four-way switch. It usually has a slider, knob, or touchpad to control the dimming level.
These are some of the most common light switches in your home. Knowing what type of switch you have will help you test it with a multimeter correctly and safely.
Tools Needed To Test Light Switch
Ok, let’s see which tools you will need:
- Multimeter
- Multimeter probes
- Screwdriver
- Electrical tape
Safety Measures
Testing light switches with a multimeter is not hard, but you need to be careful. Electricity can be dangerous if you don’t follow some basic safety rules. Here are some things you should do before and during your testing:
- Turn off the power and check with the tester.
- Wear gloves and eyewear and avoid bare wires.
How To Test A Light Switch With A Multimeter
Let me show you how to do it:
- Turn off the power to the light fixture at the circuit breaker or fuse box. This is important for your safety and to avoid damaging the multimeter or the light switch.
- Remove the cover plate from the light switch and unscrew the switch from the wall box. Pull out the switch carefully and expose the wires connected to it. You should see two wires (usually black or red) attached to two brass screws on the switch, and one wire (usually green or bare) attached to a green screw on the switch. The two wires on the brass screws are called hot wires and they carry electricity from the power source to the light fixture. The wire on the green screw is called ground wire, and it provides a safe path for electricity to return to the earth in case of a short circuit.
- Identify what kind of switch you have: single-pole, three-way, four-way, dimmer, etc. They look different and work differently, so you need to know which one you have.
- Disconnect the switch and set your multimeter to the continuity or resistance/ohms (Ω) mode. This mode will indicate if there is a complete circuit between two points. If your multimeter does not have a continuity mode, you can use the resistance mode
- Touch one probe of the multimeter to one of the brass screws on the light switch and touch the other probe to the other brass screw on the light switch. Make sure that the probes are not touching each other or any other metal parts.
- Interpret the Readings:
- If you have a single-pole switch, you should hear a beep or see near zero ohms value when the switch is in the ON position, and no beep or “1” value when the switch is in the OFF position. Flip the light switch on and off several times and observe the multimeter display or listen for the beep sound. This means that the switch works properly, allowing electricity to flow through it when turned on and stopping it when turned off.
If you have a different kind of switch, such as a three-way or four-way, touch one probe to the common (dark-colored) terminal and the other probe to one of the traveler terminals. Flip the light switch on and off. The meter should read near zero ohms or beep in the ON position and no beep or “1” value when the switch is OFF. Move the second probe to the other traveler terminal (keeping the first probe on the common) and repeat the same test.
If you have a dimmer switch, it should show varying ohms depending on the dimming level. - Replace the Switch If Needed:
- If you do not get the expected readings from your light switch, it means that the switch is faulty and needs to be replaced. You can buy a new switch and follow the manufacturer’s instructions to install it. Make sure to turn off the power before you do so.
How To Replace The Switch
To replace a switch in your home, start by turning off the power at the circuit breaker box and marking the breaker switch.
Remove the switch plate and use a voltage tester to make sure the circuit is dead.
Then, unscrew and remove the switch from the electrical box, identify the type of switch you have, and purchase a compatible replacement switch and faceplate.
Finally, connect the wires to the new switch and faceplate, push the switch back into the electrical box, and turn the power back on to test the switch.
Conclusion
Testing a light switch with a multimeter is an easy process that can help identify any problems with the switch. It is important to follow safety precautions when testing a light switch with a multimeter, including turning off power to the circuit before starting and wearing rubber gloves.
By taking these steps and accurately testing the light switch with a multimeter, homeowners can ensure their electrical systems are functioning properly and avoid potential hazards caused by faulty wiring or damaged components.

