Have you ever wondered why your car’s engine is running smoothly one day and then suddenly starts acting up? You’ve checked the oil, the coolant, and even the spark plugs, but have you ever considered the unsung hero of your engine’s performance—the O2 sensor?
The Oxygen sensor constantly monitors the oxygen levels in your exhaust gases. It ensures your car is running at its most efficient, balancing fuel economy and emissions.
But what happens when this guardian starts to falter?
Join us as we delve into how to test an O2 sensor with a multimeter. We’ll bring to light the step-by-step procedures, the types of O2 sensors, and the tell-tale signs of a failing sensor.
Let’s get started!
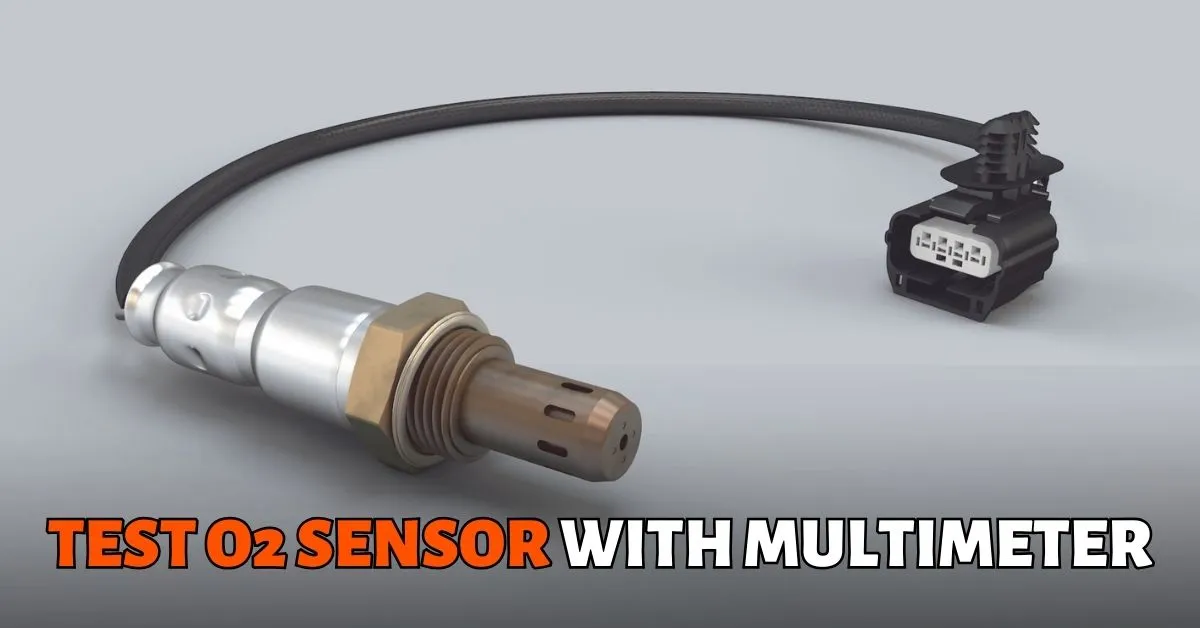
How To Test O2 Sensor With Multimeter
- Set Multimeter: Adjust your multimeter to the 1-volt range.
- Back Probe: Insert a pin into the O2 sensor’s signal wire.
- Warm-Up Car: Run your car for about 5 to 20 minutes.
- Connect Probes: Attach the red multimeter probe to the pin and ground the black probe.
- Check Readings: Look for fluctuating readings between 100mV and 1000mV on the multimeter.
What Is An O2 Sensor?
The O2 sensor, often called the oxygen sensor, is far more than a mere piece of metal and wires. But what exactly does it do?
An O2 sensor measures the amount of oxygen present in the air or liquid it’s exposed to. While this may sound straightforward, the implications are profound, especially when it comes to vehicles. In your car, the O2 sensor is the linchpin that helps your engine maintain the perfect air-to-fuel ratio.
The air-to-fuel ratio is the balancing act that your engine performs to achieve optimal combustion. Too much fuel and not enough air can lead to inefficiency and increased emissions. Conversely, too much air and not enough fuel can cause the engine to run lean, leading to poor performance and even potential damage.
The O2 sensor communicates this vital information to the Engine Control Unit (ECU), which then adjusts the fuel injectors and air intake to maintain the ideal balance. In essence, the O2 sensor is the conductor of this automotive orchestra, ensuring each component plays its part to perfection.
Beyond automotive applications, oxygen sensors also find use in medical fields, particularly in respiratory therapy. Here, they measure the oxygen concentration in a patient’s blood to adjust the flow of oxygen-enriched air accordingly.
To add another layer of complexity, these sensors are also classified based on the number of wires they have. Some come with just a pair, others with 3, and the most common type features 4 4-wire O2 sensor. Various tools like multimeters, voltmeters, and oscilloscopes can test these different types.
Oxygen Sensors Types
One size definitely doesn’t fit all. O2 sensors come in various types, each with its own set of characteristics and applications. Understanding these types is essential for anyone looking to get under the hood and tackle O2 sensor issues. So, let’s break it down.
1. Wideband Zirconia Sensor
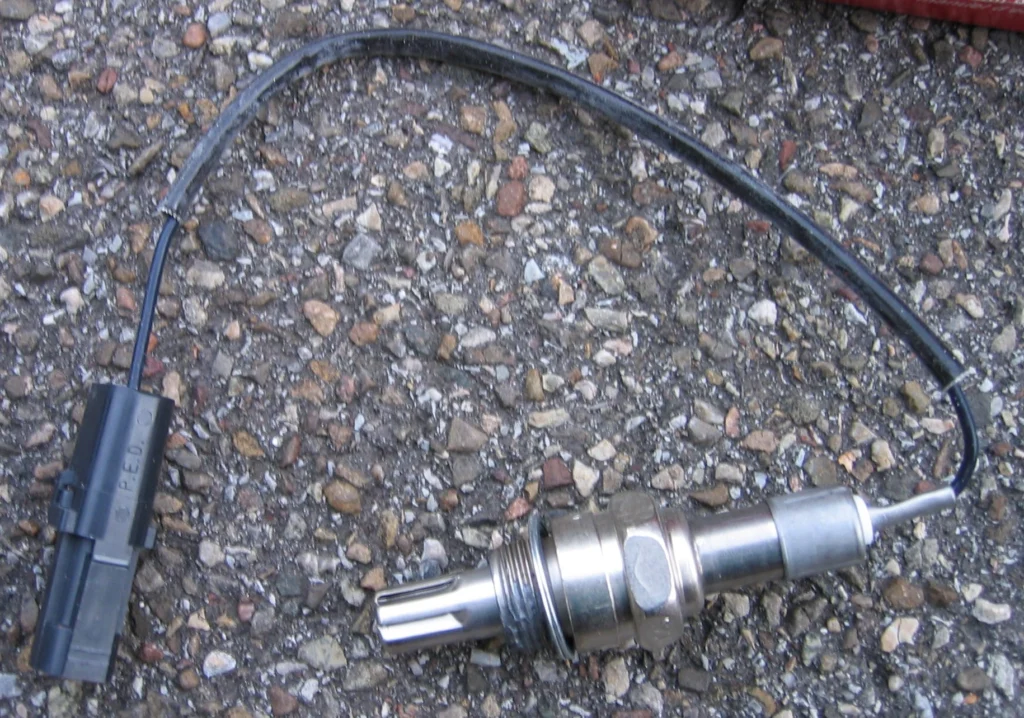
The most common type you’ll encounter is the Wideband Zirconia sensor, often found with 4 wires connected to it. These include one signal output wire, one ground wire, and two heater wires, usually of the same color. The signal wire is the star of the show, as it’s the primary source of data for diagnosing your engine’s health. If this sensor goes awry, your engine will undoubtedly let you know through a variety of symptoms.
2. Zirconia Oxygen Sensor
The Zirconia Oxygen Sensor is another prevalent type, especially in automotive applications. It operates using a solid electrolyte made from zirconium dioxide (ZrO₂), sandwiched between two electrodes, typically made of platinum or palladium. When exposed to oxygen, the zirconia produces an electrical current that is proportional to the oxygen concentration, providing valuable data to the Engine Control Unit (ECU).
3. Galvanic Cell Oxygen Sensor
Less common but still noteworthy is the Galvanic Cell Oxygen Sensor. This sensor employs two dissimilar metals, like copper and zinc, which generate an electrical current when exposed to an oxygen-containing environment. While not as popular as Zirconia sensors, Galvanic Cell sensors offer advantages like lower cost and higher accuracy at extremely low oxygen concentrations.
4. Titania Oxygen Sensor
The Titania Oxygen Sensor is a ceramic-based sensor that’s less commonly used but still has its unique applications. This sensor operates differently, maintaining an inverse relationship between fuel density and electrical resistance. In simpler terms, when the fuel mixture is rich, the sensor reduces its resistance, and vice versa.
Locations of Oxygen Sensors
You’ll typically find one catalytic converter for each exhaust pipe your vehicle has. And for each catalytic converter, expect to find at least two oxygen sensors. So, if you’re driving a vehicle with dual exhausts, you could be looking at four or more sensors. Let’s explore where you can actually find O2 sensors in your vehicle.
Pre-Cat Sensor – The “pre-cat sensor,” or the sensor located before the catalytic converter, plays a pivotal role in regulating the fuel supply to the engine. This sensor is usually situated on the exhaust manifold or within close proximity to it. It’s the first line of defense in maintaining the optimal air-to-fuel ratio, ensuring that your engine runs efficiently.
Downstream Sensor – Post-catalytic converter, you’ll find one or more downstream sensors. These sensors are tasked with measuring the efficiency of the catalytic converter itself. They compare the level of oxygen before and after the catalytic converter to determine if it’s effectively reducing harmful emissions.
Multiple Sensor – Most cars have at least two oxygen sensors, but some vehicles, especially those with V6 or V8 engines, can have four or more. These additional sensors provide a more comprehensive analysis of the exhaust gases, allowing for more precise fuel mixture adjustments and emissions control.
Symptoms Of Bad Oxygen Sensors

Now that we’ve covered the basics of the O2 sensor, let’s delve into the symptoms that might indicate it’s time to whip out that multimeter. Recognizing these symptoms early, you can avoid more severe issues, such as damage to your catalytic converter that could cost you between $500 to $2,000 more in repairs.
- Check Engine Light Comes On
The most straightforward sign of a faulty O2 sensor is the illumination of the check engine light on your dashboard. While this light can indicate various issues, a diagnostic test can confirm if the O2 sensor is the culprit. - Noticeable Loss of Fuel Efficiency
If you find yourself visiting the gas station more frequently than usual, it might be time to check your O2 sensor. A malfunctioning sensor can throw off the air-to-fuel ratio, leading to increased fuel consumption. - Unpleasant Odors
A sulfuric or ‘rotten egg’ smell emanating from your exhaust is a red flag. This odor indicates that the sensor is not adequately controlling the fuel mixture, leading to incomplete combustion and the release of sulfur dioxide. - Black Smoke from Exhaust
If you notice black smoke billowing from your exhaust, it’s a sign that the fuel mixture is too rich, and your O2 sensor may be to blame. - High Emission Levels
A faulty O2 sensor can result in elevated levels of harmful emissions. This not only harms the environment but can also make your vehicle fail an emissions test. - Engine Hesitation and Power Surges
If your engine hesitates, skips, or experiences power surges, it’s a sign that the O2 sensor is not sending accurate information to the engine’s computer, affecting its performance. - Catalytic Converter Failure
Ignoring the symptoms of a bad O2 sensor can lead to the failure of your catalytic converter, a much more expensive component to replace.
Typical O2 Error Codes
Look at the sensor’s wires. Check for any visible damage or contamination that could be causing the issue. If the wires look good, the next step is to use a diagnostic tool like an OBD scanner to pull up any error codes. Here are some frequently encountered error codes and their underlying issues:
- P0135: Front O2 sensor’s heating circuit near the first catalytic converter is open.
- P0175: Excessive fuel supply detected in bank 2.
- P0713: Fuel adjustment issues in bank 2.
- P0171: Insufficient fuel supply in bank 1.
- P0162: Malfunction in the O2 sensor circuit for bank 2, sensor 3.
Codes like P0135 and P0162 indicate issues with the O2 sensor. If you get such codes, you might not need to perform additional tests on the sensor. Even if the scan tool gives you an error code, a multimeter test can provide a more detailed analysis. You may still need to carry out further tests for a comprehensive diagnosis.
Steps On How To Test O2 Sensor With Multimeter
Let us dive into detailed steps to test Oxygen sensor using a multimeter.
1. Take Preemptive Steps
Begin by visually inspecting the sensor’s wires for any damage or contamination. If they appear to be in good condition, proceed to use a diagnostic tool like an OBD scanner to pull up any error codes.
Codes like P0135 or P0136 indicate that you might not need to perform additional tests. However, multimeter tests offer a more in-depth analysis, so you may still want to proceed.
2. Set the Multimeter to the 1-volt Range
O2 sensors operate in millivolts, a low voltage unit. To get accurate readings, set your multimeter to the 1-volt DC range. Expect readings to fluctuate between 100mV and 1000mV (0.1V to 1V).
3. Back Probe the O2 Sensor’s Signal Wire
The next step involves back probing the O2 sensor’s signal wire. Since the sensor needs to be tested while connected, inserting your multimeter probe directly is not feasible. Instead, use a pin to back probe the output signal wire terminal where the sensor wire plugs in.
4. Place the Multimeter Probe on the Back Probe Pin
Attach the red (positive) multimeter probe to the pin you’ve inserted into the signal wire terminal. Use an alligator clip for a secure connection. Ground the black (negative) probe to a nearby metal surface, such as your car’s chassis.
5. Warm Up Your Car
O2 sensors need to operate at around 600°F for accurate readings. Start your car and let it run for 5 to 20 minutes to reach this temperature. Exercise caution to avoid burns.
6. Evaluate Results
With everything set up, it’s time to check the multimeter. A good O2 sensor will show a rapidly fluctuating reading between 0.1V and 1V. If the reading is static, especially around 450mV (0.45V), the sensor is faulty.
Further, a constant low reading (below 350mV/0.35V) indicates a lean fuel mixture, while a high reading (above 550mV/0.55V) suggests a rich fuel mixture. These could also be due to other factors like a loose ground connection, a stuck-open EGR valve, or even a faulty spark plug.
Additional Tests
For a more in-depth diagnosis, you can also test the sensor’s response to lean or rich mixtures. This will help you confirm whether the sensor is functioning as it should.
Advanced Testing: O2 Sensor Response and Heater Wire Evaluation
After the basic tests, if you’re still keen on a more in-depth analysis, here are some advanced tests you can perform.
Testing O2 Sensor Response to Lean Mixture
- Ensure the sensor is still fluctuating between 0.1V and 1V.
- Detach the vacuum hose from the Positive Crankcase Ventilation (PCV).
- The multimeter should now show a low reading between 0.2V and 0.3V.
- If the reading doesn’t consistently stay within this low range, your sensor is likely faulty and needs replacement.
Testing O2 Sensor Response to Rich Mixture
- Leave the vacuum hose connected to the PCV.
- Detach the plastic hose going into the air cleaner assembly.
- Seal the hose slot at the air cleaner assembly to prevent air from entering the engine.
- The multimeter should display a constant high reading around 0.8V.
- If the reading doesn’t stay at this high value, your sensor is likely bad and needs to be replaced.
O2 Sensor Test Through Heater Wires
- Turn the multimeter dial to the Ohmmeter setting.
- Back probe the O2 sensor’s heater wire and ground wire terminals.
- Attach the positive multimeter lead to one heater wire back probe pin and the negative lead to the ground wire back probe pin.
- A good O2 sensor circuit will show a reading between 10 Ohms and 20 Ohms.
- If the reading falls outside this range, the sensor is bad and needs replacement.
Conclusion
Testing your O2 sensor with a multimeter is an indispensable skill for any car owner or DIY enthusiast. It’s a straightforward yet meticulous process that can save you time and money on unnecessary repairs.
From initial visual inspections to in-depth multimeter readings, each step serves a critical role in diagnosing the health of your O2 sensor. A well-functioning sensor ensures optimal fuel efficiency and minimizes harmful emissions, contributing to both your vehicle’s performance and environmental responsibility.
So, the next time your car shows signs of inefficiency or your check engine light flickers, you’ll know exactly what to do.
FAQs
How do I know if my O2 sensor is bad with a multimeter?
To determine if your O2 sensor is faulty using a multimeter, set the device to the 1-volt range and back probe the sensor’s signal wire. Warm up your car and look for readings between 100mV and 1000mV. If the reading remains static, usually around 450mV, the sensor is likely faulty and needs replacement.
How many ohms should an O2 sensor read?
An O2 sensor should read between 10 ohms to 20 ohms when functioning correctly. To test this, switch your multimeter to the Ohmmeter setting and back probe the oxygen sensor heater’s hot and ground wire. If the reading is outside this range, the sensor is likely faulty.
How do you bench test an O2 sensor with a multimeter?
To test an O2 sensor using a multimeter, first set the multimeter to measure resistance (Ohmmeter mode). Then, find the sensor’s heater wires, which are usually two of the wires coming out of the sensor. Use the multimeter’s red lead to touch the hot (or power) wire and the black lead to touch the ground wire. If the sensor is working well, the multimeter should show a reading between 10 and 20 ohms.
How can you tell if an oxygen sensor is bad?
A bad oxygen sensor will often trigger the check engine light and may result in poor fuel economy, increased emissions, and poor engine performance. To confirm, you can use an OBD scanner to retrieve error codes like P0135 or P0136. Alternatively, a more in-depth analysis can be performed using a multimeter as described above.

