Think of electricity like water in a river. Just as we want to know how much water flows in a river, in electronics, we want to know how much electricity flows. This flow is called “Amps.”
Now, if you’re working with gadgets or wires, sometimes you need to check this flow. It’s like checking how fast the river is flowing. But, it can be a bit tricky because electricity has different types and can act differently.
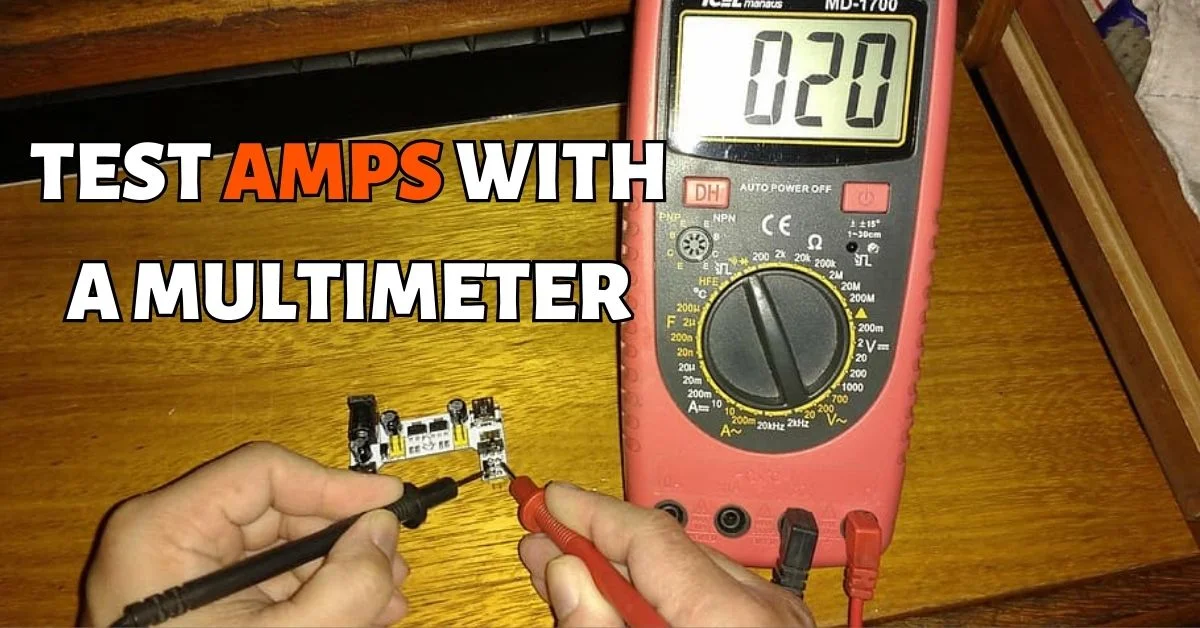
In this guide, we’ll show you how to test amps with a multimeter.
Ready to learn? Let’s dive in!
What Is Amps Or Amperage?
Amps, often called amperage, are like the heartbeat of electricity. It tells us how much electricity is flowing, like how our heartbeat tells us how fast our blood moves. When we talk about electrical devices, like our phones or lamps, they need a certain amount of this flow, or amps, to work right.
To put it simply, imagine a river. The amount of water flowing in that river every second? That’s like an amperage in electricity. And just like “gallons” or “liters” measure water, “Amps” or “Amperes” measure this electric flow.
But here’s where it gets a bit tricky. There’s more than one type of this flow. Before we dive into the different types, like DC Amp, it’s important to understand what amperage really is.
You might have heard of another term – voltage. While they sound similar, they’re different. Think of amperage as the amount of water in a pipe and voltage as the force pushing that water. The pipe? That’s our electric circuit.
DC Amp vs. AC Amp
There are two main types of this electric flow we measure: DC Amp and AC Amp.
To break it down further:
While AC and DC amps measure the same thing – the flow of electricity – the way the electricity flows is different. DC flows in one steady direction, while AC keeps changing its direction. But, neither tells you about the strength of the current. For that, you’d use tools like an amp draw calculator.
An important thing to note is that you can’t measure AC and DC with the same tool. There are specific meters for each. So, if you’re measuring a circuit, make sure you have the right tool for the job.
Important Notes Before You Begin
Before diving into the intricacies of measuring amps with a multimeter, it’s essential to understand some foundational concepts and precautions. Here are some key points to keep in mind:
- Safety First: The amount of amperage in a system determines its potential danger to humans. High amperage can cause electrical components to overheat, leading to potential hazards like arc flashes or electrical shocks. Always ensure that you’re working within the safety limits of your equipment.
- Equipment Limitations: Every electrical system or device has a maximum amperage it can handle, often referred to as its “ampacity.” Exceeding this limit can damage the equipment and pose safety risks.
- Heat and Amperage: The heat produced by an electrical system increases with its amperage. If a system is exposed to too much amperage, its circuits or components might melt or degrade. This not only poses a burn hazard but can also lead to electrical faults.
- Duration of Use: Some high-amperage equipment has usage restrictions to prevent overheating. For instance, certain welding machines might need to be rested after a few minutes of continuous operation.
- Proper Equipment Handling: When using a multimeter or any other testing equipment, always ensure you’re using it correctly. Incorrect usage can lead to inaccurate readings and potential safety hazards.

Tools Needed To Test Amps
Here’s a checklist of essential tools you’ll need to ensure accurate readings and safety:
- Multimeter
- Alligator Clips
- Insulated Gloves
How To Measure Amps With A Multimeter
Measuring amps with a multimeter might seem daunting at first, but with the right steps and precautions, it becomes a straightforward task. Here’s a step-by-step guide to help you measure amps accurately:
1. Verify the Ratings
- Before you begin, always ensure safety. Start by confirming the maximum amp rating of your multimeter. This rating is typically found on the back of the device or in its manual.
- Next, determine the rating of your power source. For gadgets, check the nameplate. If you’re assessing a car battery, refer to the Cold Cranking Amps (CCA) specification.
2. Inspect the Multimeter Fuses
- Prior to measuring, it’s crucial to ascertain that the multimeter’s fuses are operational. Insert the red lead into the amp (A) or microamp (mA) terminal, based on the fuse you intend to inspect.
- Rotate the multimeter’s dial away from the amp setting. If you hear a beep and see the word “LEAD” displayed (for Fluke multimeters), your device is ready. If using a Klein multimeter, the “LEAD” sign indicates blown fuses or incorrect lead placement.
3. Position the Leads Appropriately
- Start by inserting the red lead into the amp (A) terminal. This is a safer approach, especially if you’re uncertain about the current strength. Using the microamp (mA) terminal initially might risk blowing its fuse.
- If you’re certain about a low current source, opt for the milliamp terminal. Following this, plug the black lead into the ground (COM) terminal. Adjust the dial to the A or milliamp setting.
4. Determine the Current Type: AC or DC
- Once the multimeter is on, set it to either AC or DC based on your source. For some Fluke models, the yellow ‘Function’ button toggles between AC and DC. On Klein devices, the red ‘Select’ button might be used if both AC and DC symbols are present. Remember: wavy lines represent AC, while a straight line indicates DC.
5. Connect the Multimeter and Obtain the Reading
- For accurate amperage readings, connect the multimeter in series with the source. This might require creating a break in the circuit or disconnecting a terminal post.
- In certain scenarios, unsoldering or unhinging wires from a component’s circuit end might be necessary.
- Position the red lead’s test probe on the terminal post (where the circuit was disconnected), ideally the positive one. Connect the black lead’s probe to the detached wire, integrating the multimeter into the circuit.
- If executed correctly, the multimeter will display the accurate amperage. Note the reading while the probe is in contact with the power source.
You can also see this video for a step-by-step visual guide on check for amps with a multimeter, ensuring you grasp every detail thoroughly.
Measure Amps Using A Clamp Meter
Unlike the traditional multimeter, which requires probes to make direct contact with terminals or wires, the clamp meter operates without direct contact. This means you can measure amperage, voltage, or resistance by simply clamping the device around a wire, even if it’s insulated.
Measuring DC Amp with a clamp meter is notably more straightforward than using a multimeter. One of the significant advantages of the clamp meter is its ability to measure high amperage levels. While a regular multimeter typically maxes out at 10A, a clamp meter can go up to a whopping 1000A. This makes it the preferred choice when dealing with circuits or wires that carry substantial amounts of current.
Using a clamp meter is relatively simple:
- Before starting, set your clamp meter to the appropriate amperage range. Depending on your device, you might have options like 40A, 400A, or 1000A. It’s essential to select the range that aligns with the expected current of the circuit you’re testing.
- Open the clamp of the meter and position it around the wire you intend to measure. It’s crucial to ensure the wire sits snugly between the clamps without any obstructions.
- Once you’ve clamped the wire, the meter will display the amperage value. For accurate readings, ensure the wire is properly aligned between the clamps.
Testing the Cold Cranking Amps of a Car Battery
For those curious about the overall health of their car battery, a multimeter can also be used for a general checkup. Using a standard 12V battery as an example:
- Connect the red and black lead probes of the multimeter to the positive and negative terminal posts of the battery.
- Set the multimeter to the DC voltage position.
- Ignite the car’s engine and let it run. During this period, monitor the voltage reading on the multimeter. A healthy battery should maintain a reading above 10V. If the reading remains stable and doesn’t drop below this threshold, the battery is in good condition. However, if the voltage plunges, say to 5V, it’s a clear sign that the battery might need replacing.
Conclusion
Testing amps with a multimeter is an indispensable skill for anyone in the electrical and automotive fields. Whether you’re diagnosing circuit issues, verifying the health of a car battery, or simply satiating your curiosity, a multimeter is your go-to tool.
Remember, accuracy hinges on proper technique and understanding the nuances of the device you’re measuring. With the right approach and consistent practice, you’ll master the art of amperage measurement, ensuring both precision and safety in every test. As with all electrical endeavors, always prioritize safety, and never hesitate to consult your multimeter’s manual or seek expert advice when in doubt.
FAQs
What setting on multimeter should I use for amps?
To measure current (amps) with a multimeter, you should set the multimeter to the “A” setting. If you’re measuring a small amount of current, you might use the “mA” (milliamps) or “µA” (microamps) settings.
What is the symbol for AMP on multimeter?
The symbol for measuring current (amps) on a multimeter is “A”. For AC current, it’s represented as “A” with a wavy line over it. For DC current, it’s represented as “A” with two lines, one dotted and one solid, over it. Additionally, “mA” stands for milliamps and “µA” (with µ being the Greek letter mu) stands for microamps.
How do you check amps with a Klein multimeter?
While the specific URLs didn’t provide a step-by-step guide for using a Klein multimeter, the general procedure to check amps with most multimeters is as follows:
Turn off the circuit.
Set the multimeter to the appropriate current (Amp) setting.
Connect the multimeter in series with the circuit (i.e., break the circuit and insert the multimeter).
Turn the circuit back on and read the current on the multimeter’s display.
How do you test for volt amps?
Volt-amps (VA) is a measure of apparent power in an electrical circuit and is calculated as the product of the voltage (V) and the current (A). To measure volt-amps:
First, measure the voltage across the component or circuit using the multimeter set to the voltage (V) setting.
Next, measure the current flowing through the component or circuit using the multimeter set to the current (A) setting.
Multiply the measured voltage by the measured current to get the apparent power in volt-amps (VA).

