If you’re experiencing electrical issues with your motorcycle, ATV, or other small engines, the stator may be the culprit.
The stator generates electricity to charge the battery and power the electrical system. If the stator fails, it can cause problems like a dead battery, dim lights, or a complete loss of power.
Fortunately, testing a stator with a multimeter is a relatively simple process that can save you time compared to taking your vehicle to a mechanic.
In this guide, we’ll walk you through the steps to test a stator with a multimeter. So, let’s dive in!
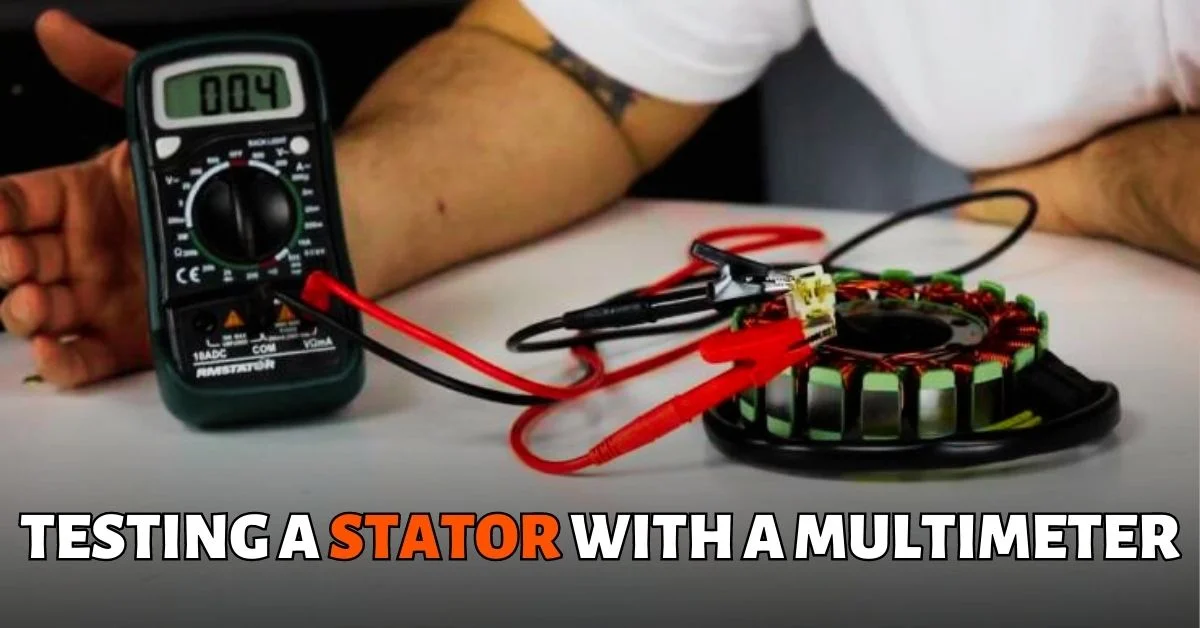
How To Test A Stator With A Multimeter? You need to switch the dial to the ohms setting. Then, touch the probes to the stator terminals. If the reading you get is infinite, it means the stator is bad. But, if the reading shows zero or close to zero, you have a good stator.
Stator Visual Inspection
Before we start testing the stator, it’s important to visually inspect the stator and its wiring to see if there are any obvious signs of damage or wear. This step is crucial to ensure you don’t waste time testing a stator that is damaged beyond repair.
Start by inspecting the stator windings for any signs of physical damage, such as cracks, breaks, or burn marks. Additionally, check the stator’s connections and wires for any loose or corroded connections, as this can affect the stator’s performance.
If you notice any physical damage or worn-out connections, it’s best to replace the stator before attempting to test it. However, if everything looks good, you can proceed with testing the stator using a multimeter.
How To Test A Stator With A Multimeter
Now that we’ve completed the visual inspection, it’s time to move on to the actual testing of the stator with a multimeter. There are three main methods for testing a stator with a multimeter: voltage checks, static test, and dynamic test. Let’s take a closer look at each of these methods.
SIDENOTE: Stators can come in two varieties: 3-wire and 5-wire. The steps provided below are specifically for testing 3 wire stators.
Stator Static Test
The static stator test is a crucial step if your engine or vehicle fails to start, and it involves measuring the resistance within all the wire phases coming out of your stator.
Here’s how you can carry out the test:
1. Ensuring Safety and Preparation
Make sure your engine is switched off. Then, set your multimeter dial to the Ohm or resistance logo, and you should see that it reads “O.L.” This indicates that all connections are in an open loop and that there are no shortages or grounding issues.
2. Testing Phases of the Stator
Place the positive multimeter lead on one phase (let’s call it P1) and the negative lead on another phase (P2). You should also measure between P2 and P3, as well as between P3 and P1.
If the multimeter reads zero “0” while measuring between any of these phases, it means there’s a problem within your stator or its wires, and something needs to be fixed.
3. Consider Model and Multimeter Compatibility
Note that the expected ohm reading from this test may differ based on your stator model, and not all multimeters may have the necessary features to carry out this test accurately.
4. Individual Wire Testing against Ground
Another test you can carry out with every type of multimeter is checking each wire individually against a grounded metal surface nearby. To do this, set your multimeter to Ohms or resistance, and the “O.L.” should pop up on the screen.
Then, place the negative black lead on a nearby metal surface and place the positive red lead on each of the phases (P1, P2, and P3) individually.
5. Identifying Phase Issues
With a good stator, you should expect the multimeter to keep showing “O.L.” If the multimeter reads zero or close to zero on any of the phases, then that particular phase has a problem.
If it reads zero on all phases, the solution would be to change the entire stator with another stator compatible with your vehicle’s model.
Stator Dynamic Test
The dynamic stator test is a crucial step in determining the health of your stator while the engine is on. The main focus of this test is to measure the voltage produced by the stator through each phase. However, before you proceed, it’s important to note that different stator models have different recommendations for AC voltage readings, so you should check your manual before starting the test.
To carry out the dynamic stator test, follow these simple steps:
- Begin by setting your multimeter dial to AC voltage (VAC) or ‘V~’ and placing the leads into the different stator wire phases. Ensure that the engine is switched off; at this point, the multimeter should have no reading.
- Next, switch on your engine, and the multimeter should show a positive reading in the 20s. This reading may vary depending on your stator model.
- Now, rev up your engine, and the reading the multimeter produces should increase accordingly. If the multimeter fails to produce a corresponding increase in voltage reading, then your stator is bad and needs to be replaced.
Repeat this procedure with the probes interchanged between P1, P2, and P3.
If the entire process seems tricky, don’t worry; you can check out a helpful video demonstrating how to run comprehensive static and dynamic tests and what to expect.
Symptoms of Failing Stator
A stator is a crucial part of an electric motor that converts electrical energy to mechanical energy. However, stators can sometimes fail, causing a drop in performance and efficiency.
There are several symptoms to look out for, such as the motor running slower or producing strange noises or vibrations.
In some cases, the stator may even produce sparks or smoke. If you notice any of these signs, it’s crucial to have a qualified technician check the motor immediately to prevent costly repairs down the road.
How to Replace a Stator in Your Vehicle
Replacing a stator in your vehicle is a task that can be done with the right tools and some basic knowledge. First, locate the stator near the engine, using your vehicle’s manual if necessary. Remove the old stator by removing the bolts or screws holding it in place, and then install the new one. Make sure to line up the bolt holes and follow any instructions that come with the new stator.
Once the new stator is in place, bolt or screw it into position and reconnect any wires or cables that were attached to the old stator. Double-check that everything is secure and in place, and you’re done! The process is quick and straightforward, and you’ll have a new stator installed in just a few minutes. If you’re unsure about any steps, consult your vehicle’s manual or seek the help of a qualified mechanic.
Conclusion
Testing a stator with a multimeter is not as hard as you may think. It’s actually quite simple if you follow the right steps.
It’s important to note that testing a stator should only be done when symptoms indicate an issue, such as problems starting up or charging issues.
By following these simple steps, you can easily determine whether or not your stator needs replacing without having to take it into a mechanic, saving time and money in the long run.

